Managing users on elba
This document outlines the process for managing user enrollment on elba.
Users can be in various statuses: not enrolled, enrolled, or invited. Enrolled users are available to be onboarded on all modules on elba : phishing simulations, trainings & security alerts.
This guide will show you how to efficiently enroll users either through groups or individually using elba's team page.
🤹 What does enrolling a user means?
Elba will retrieve all users from your Identity Provider (IdP), but we know you don’t necessarily want all of them to join elba (some are generic addresses for instance, and not real users); so you’ll have the ability to select the users that should use elba. This is what enrolling is about: selecting users that should join elba.
But enrolled users will only be invited to join elba if you have activated a module. Once a module is activated on elba (for instance, the Training module), enrolled users will be invited to join the platform; non enrolled users won’t be invited.
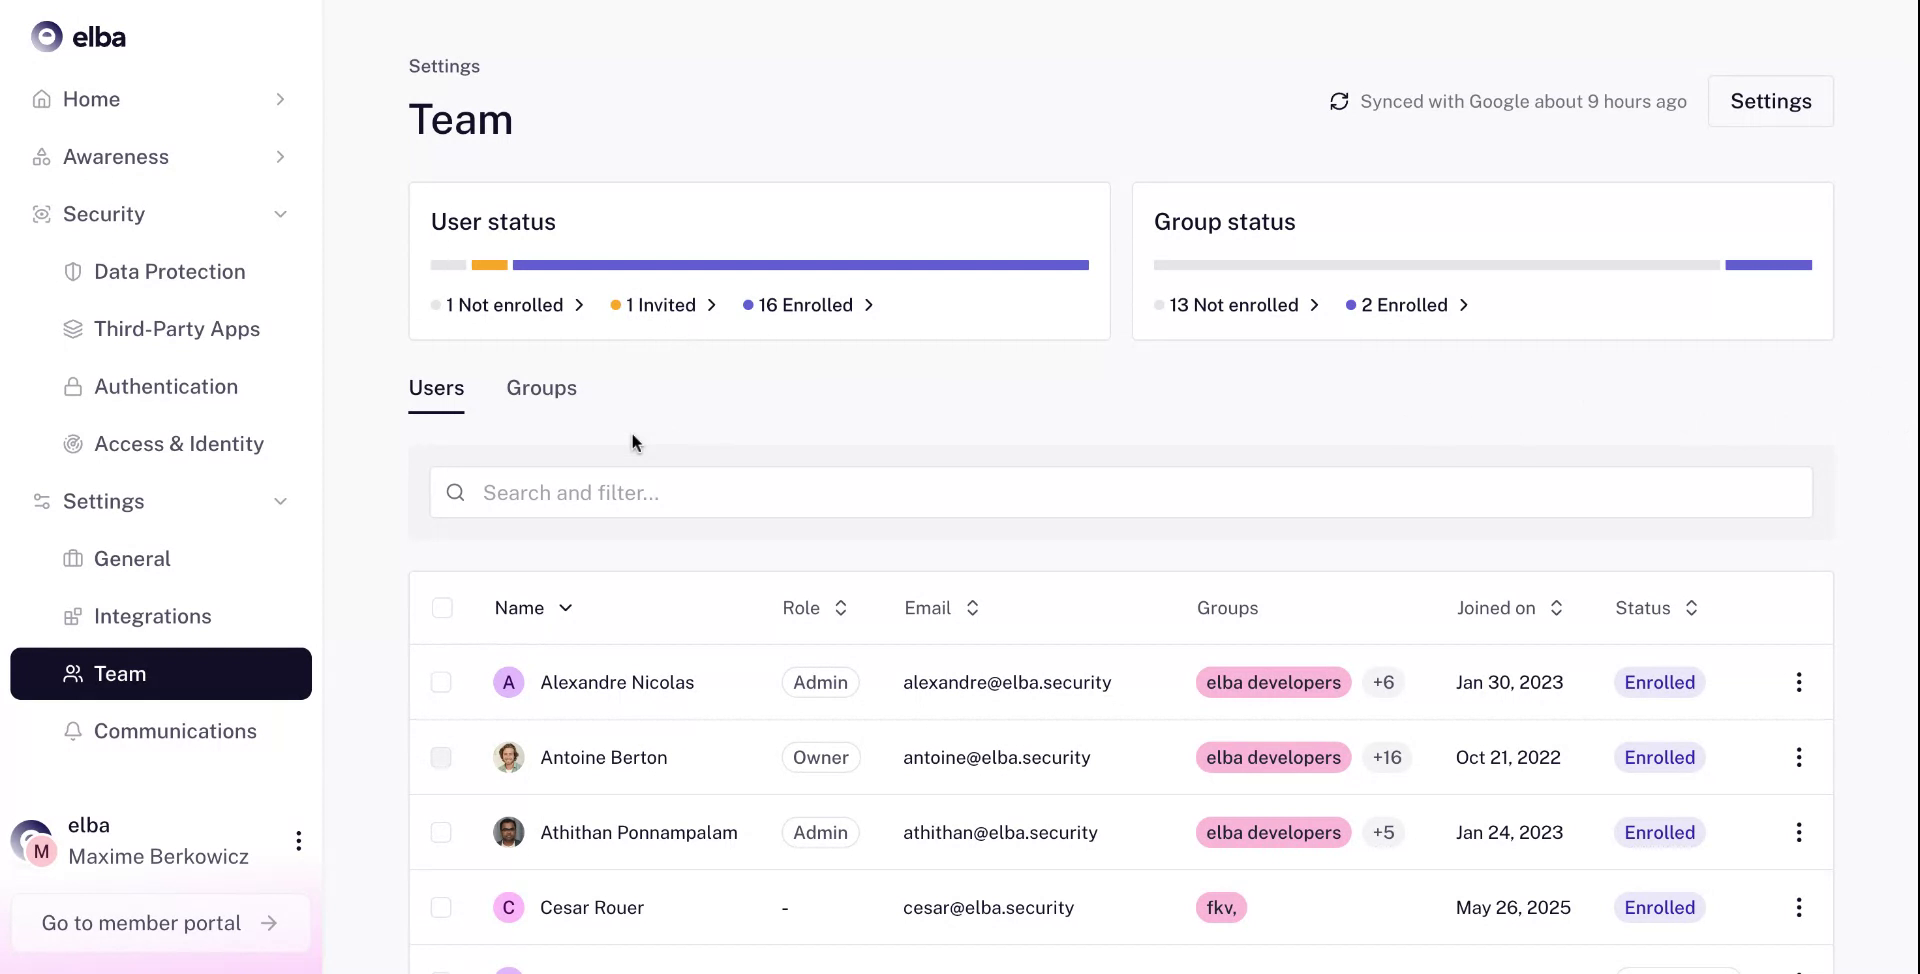
Step 1
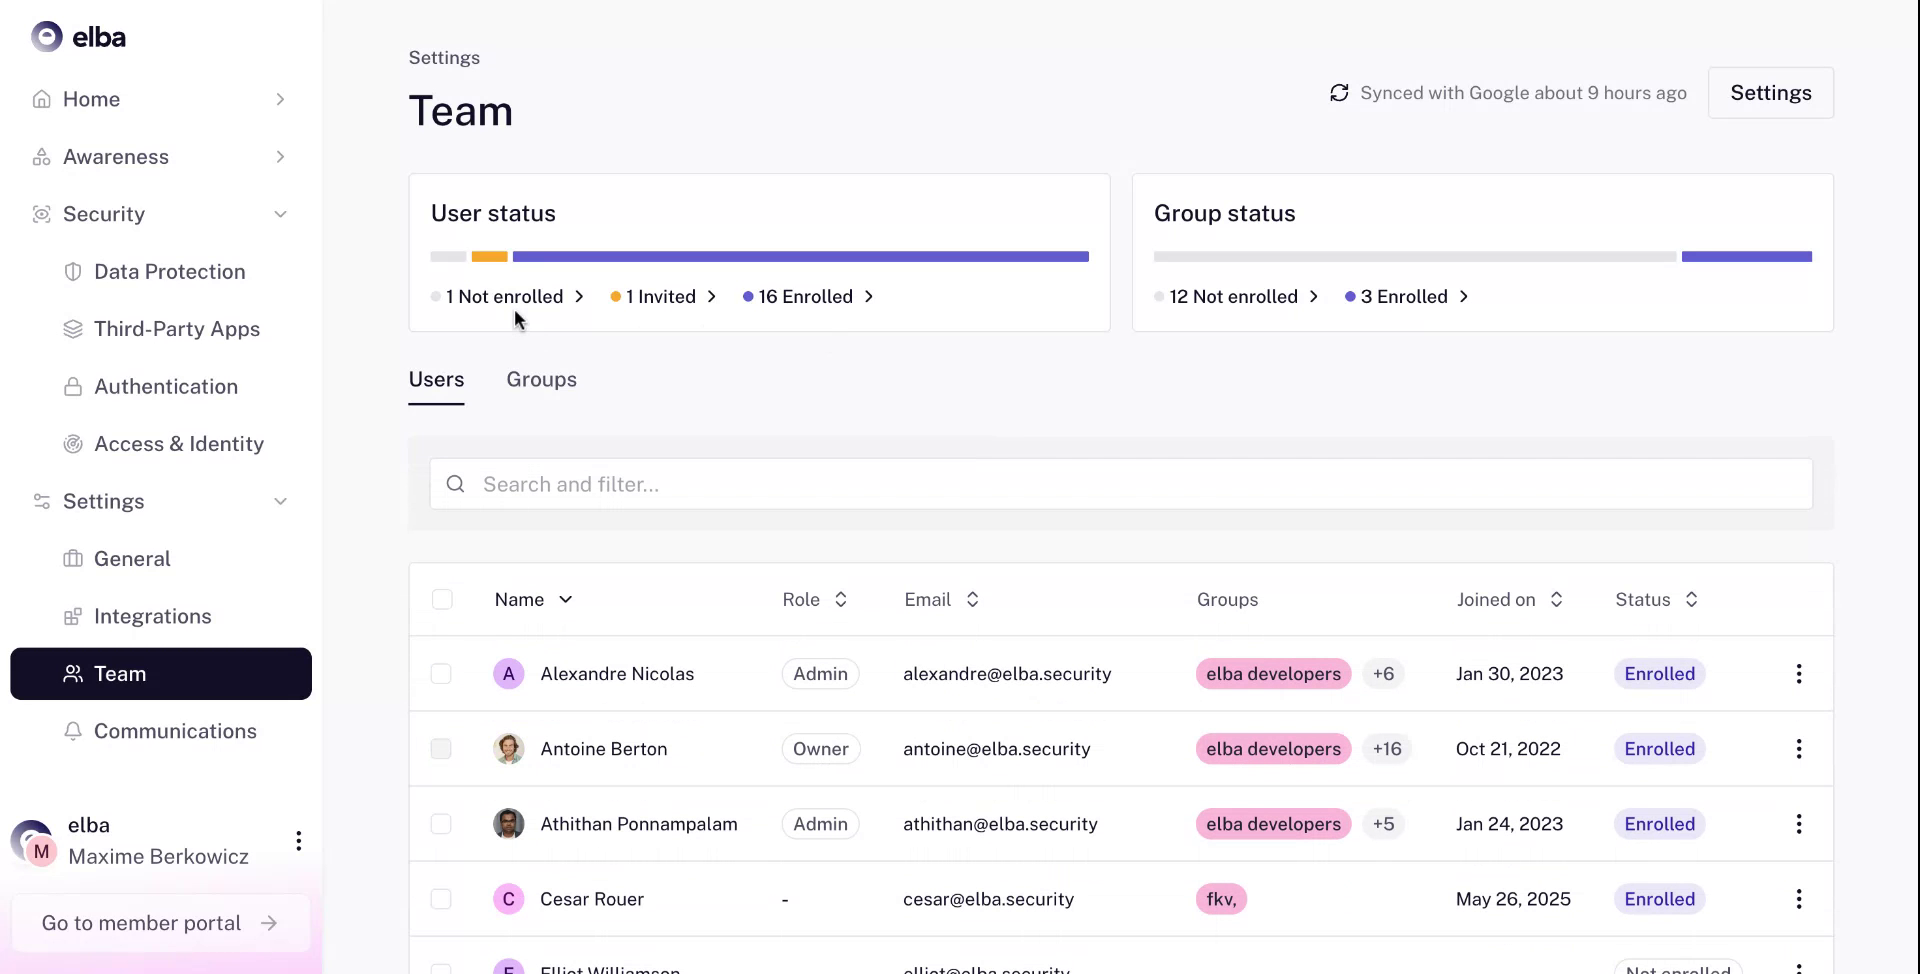
- Access the team tab, which provides a comprehensive way to manage all aspects of user enrolment on elba.
- Understand that users can be categorised as not enrolled, enrolled, or invited, where invited users are enrolled but have not logged in yet.
- There are two distinct methods for enrolling users on the platform : through user groups or individually
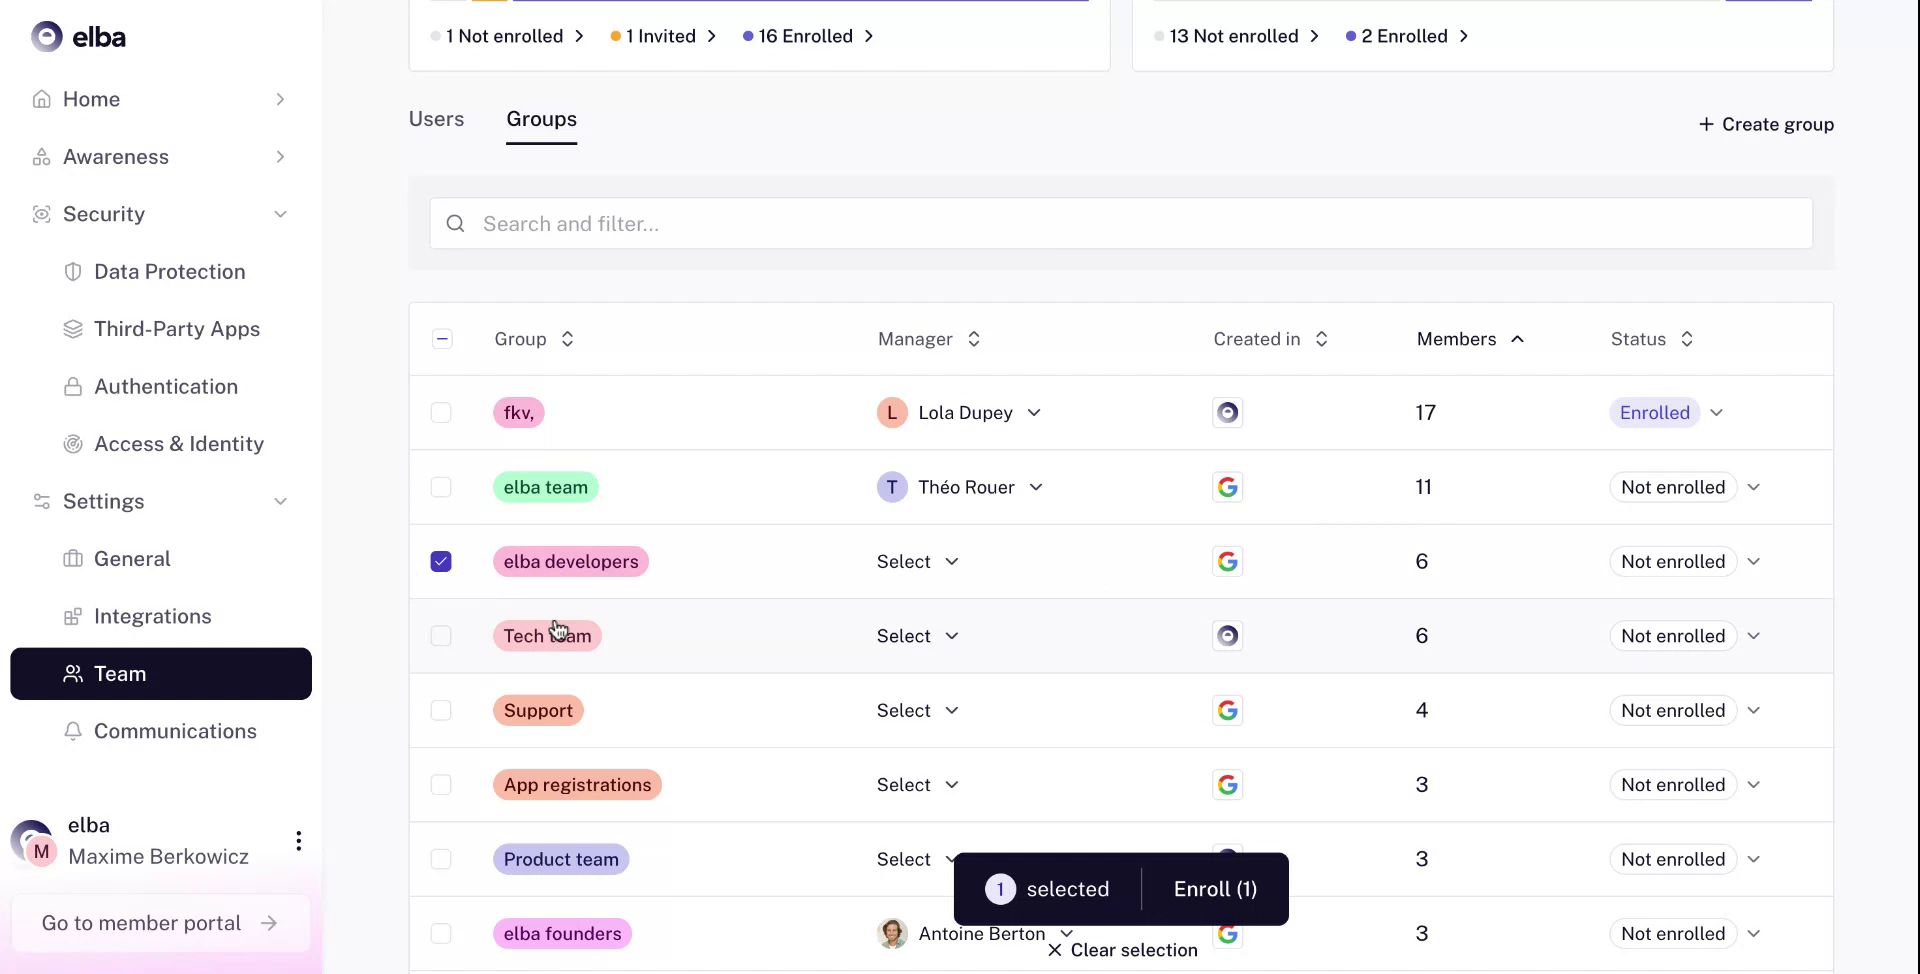
Step 2
- The recommended approach is to enroll users by groups, by searching through all groups within your Identity Provider (IDP), such as Google, Microsoft 365, or Okta

Step 3
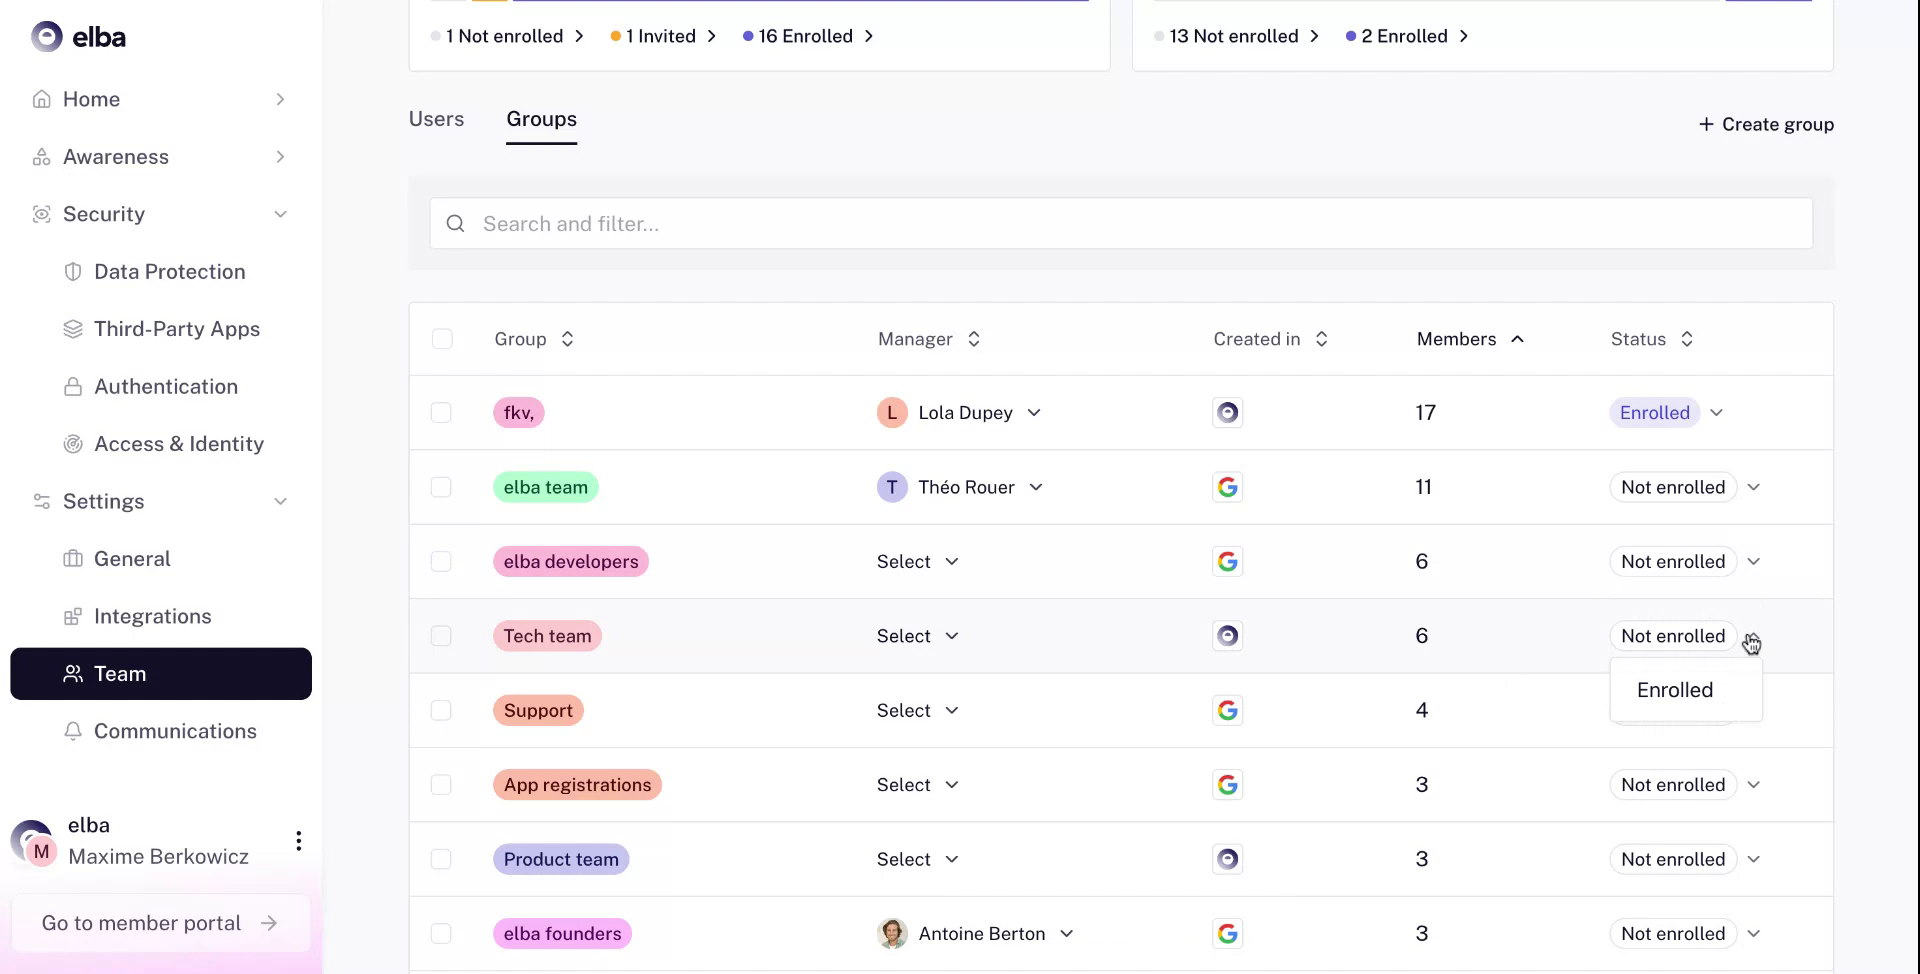
- Enroll groups in bulk or select a specific group using the dropdown menu provided.
Step 4
- All users from enrolled groups will be enrolled
- If a new user is added to your IDP and belongs to an enrolled group, they will be automatically enrolled as well.
Step 5
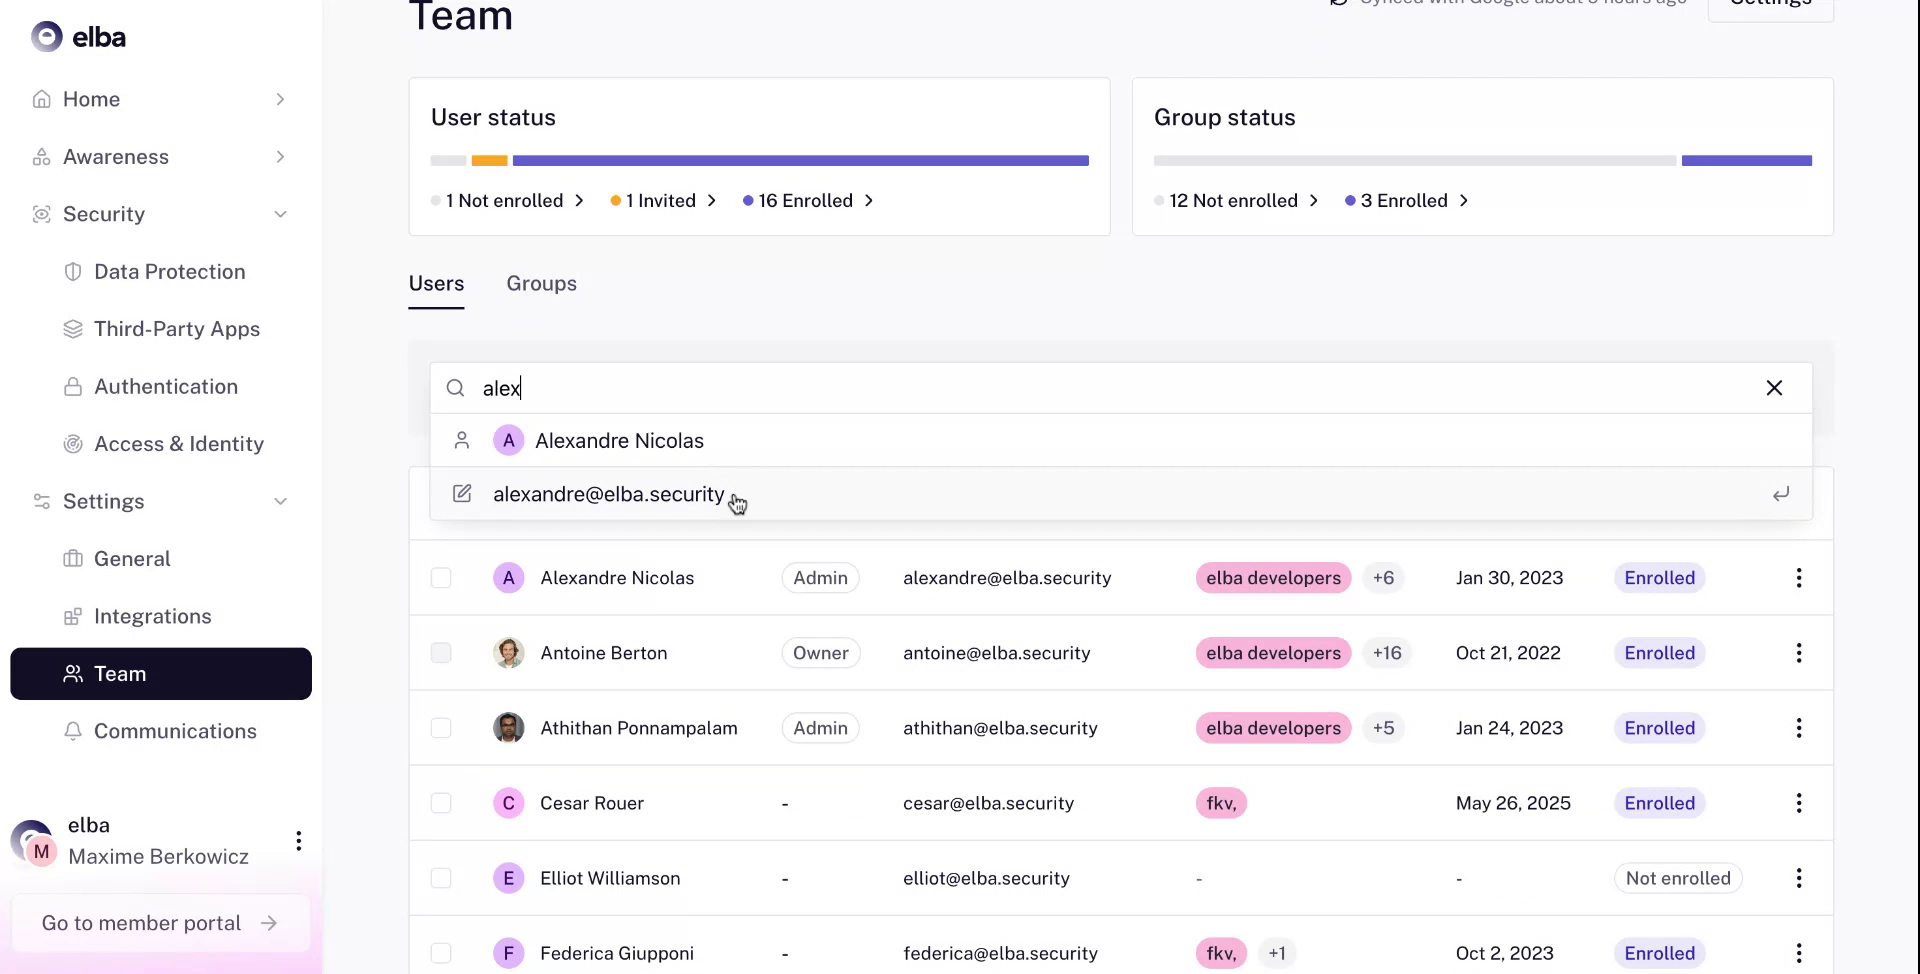
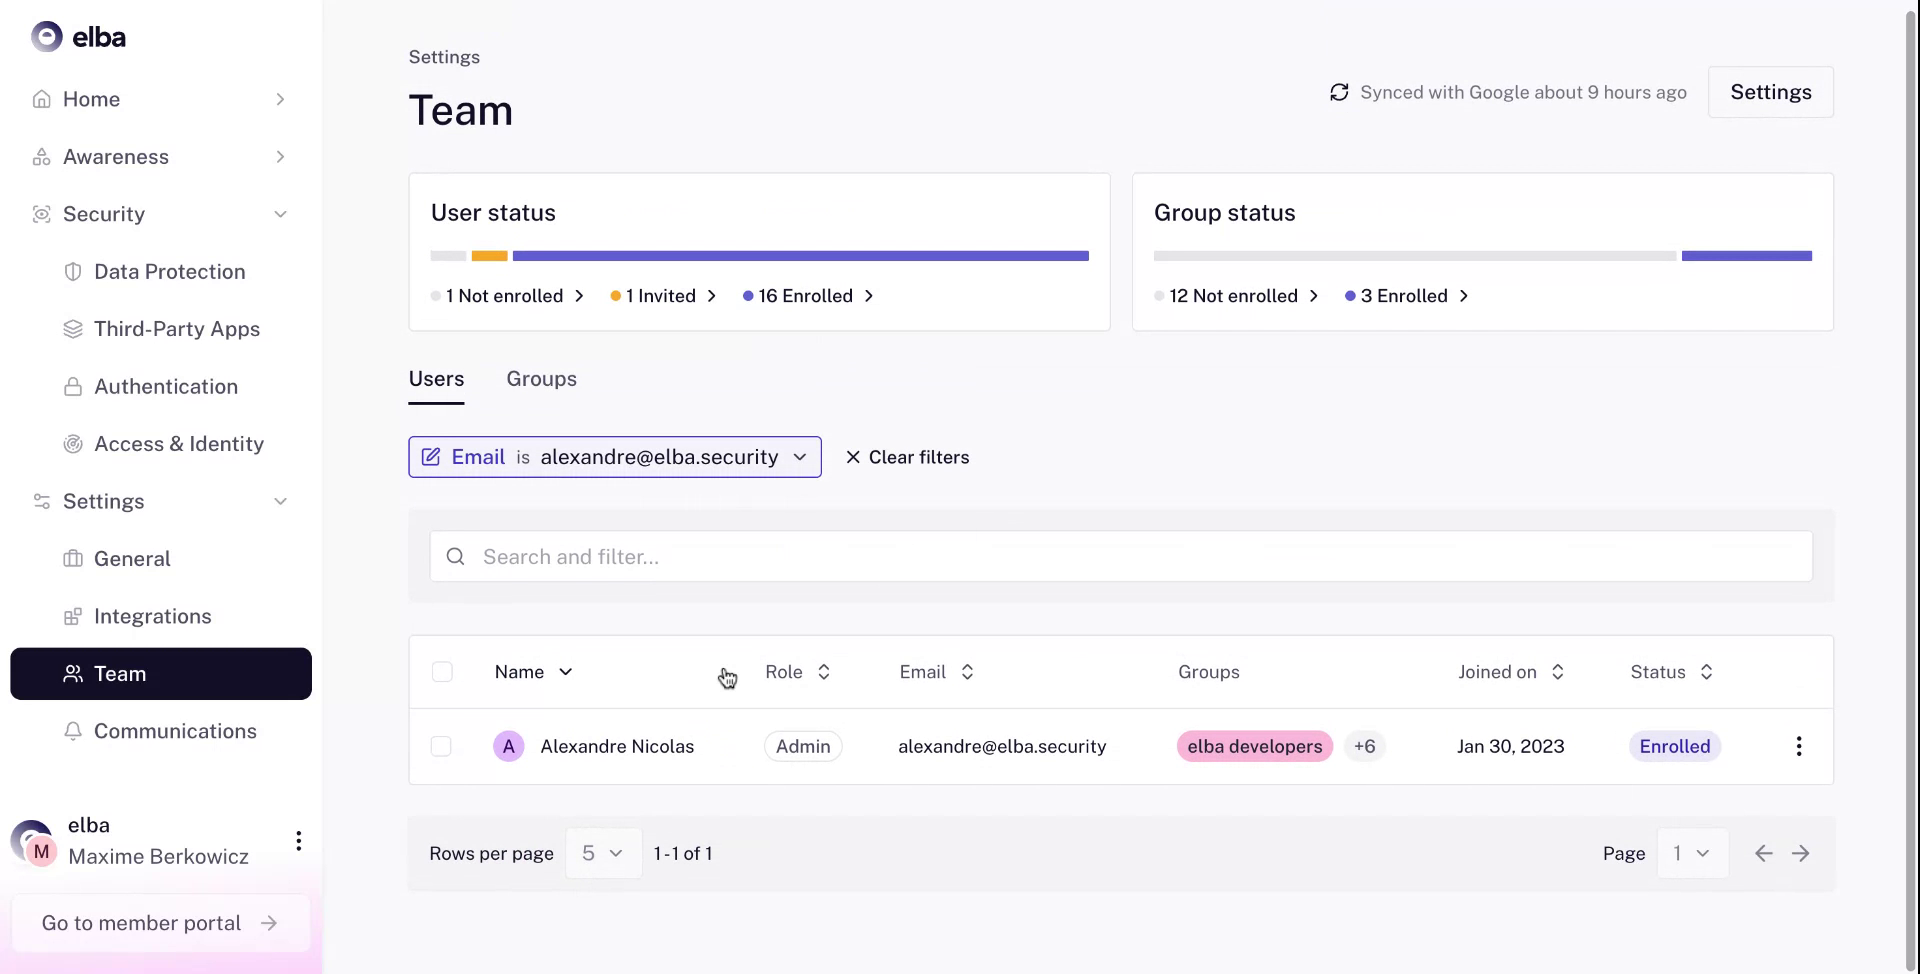
- To add specific users to a group or enroll them individually, search for users by email, name, or group affiliation.
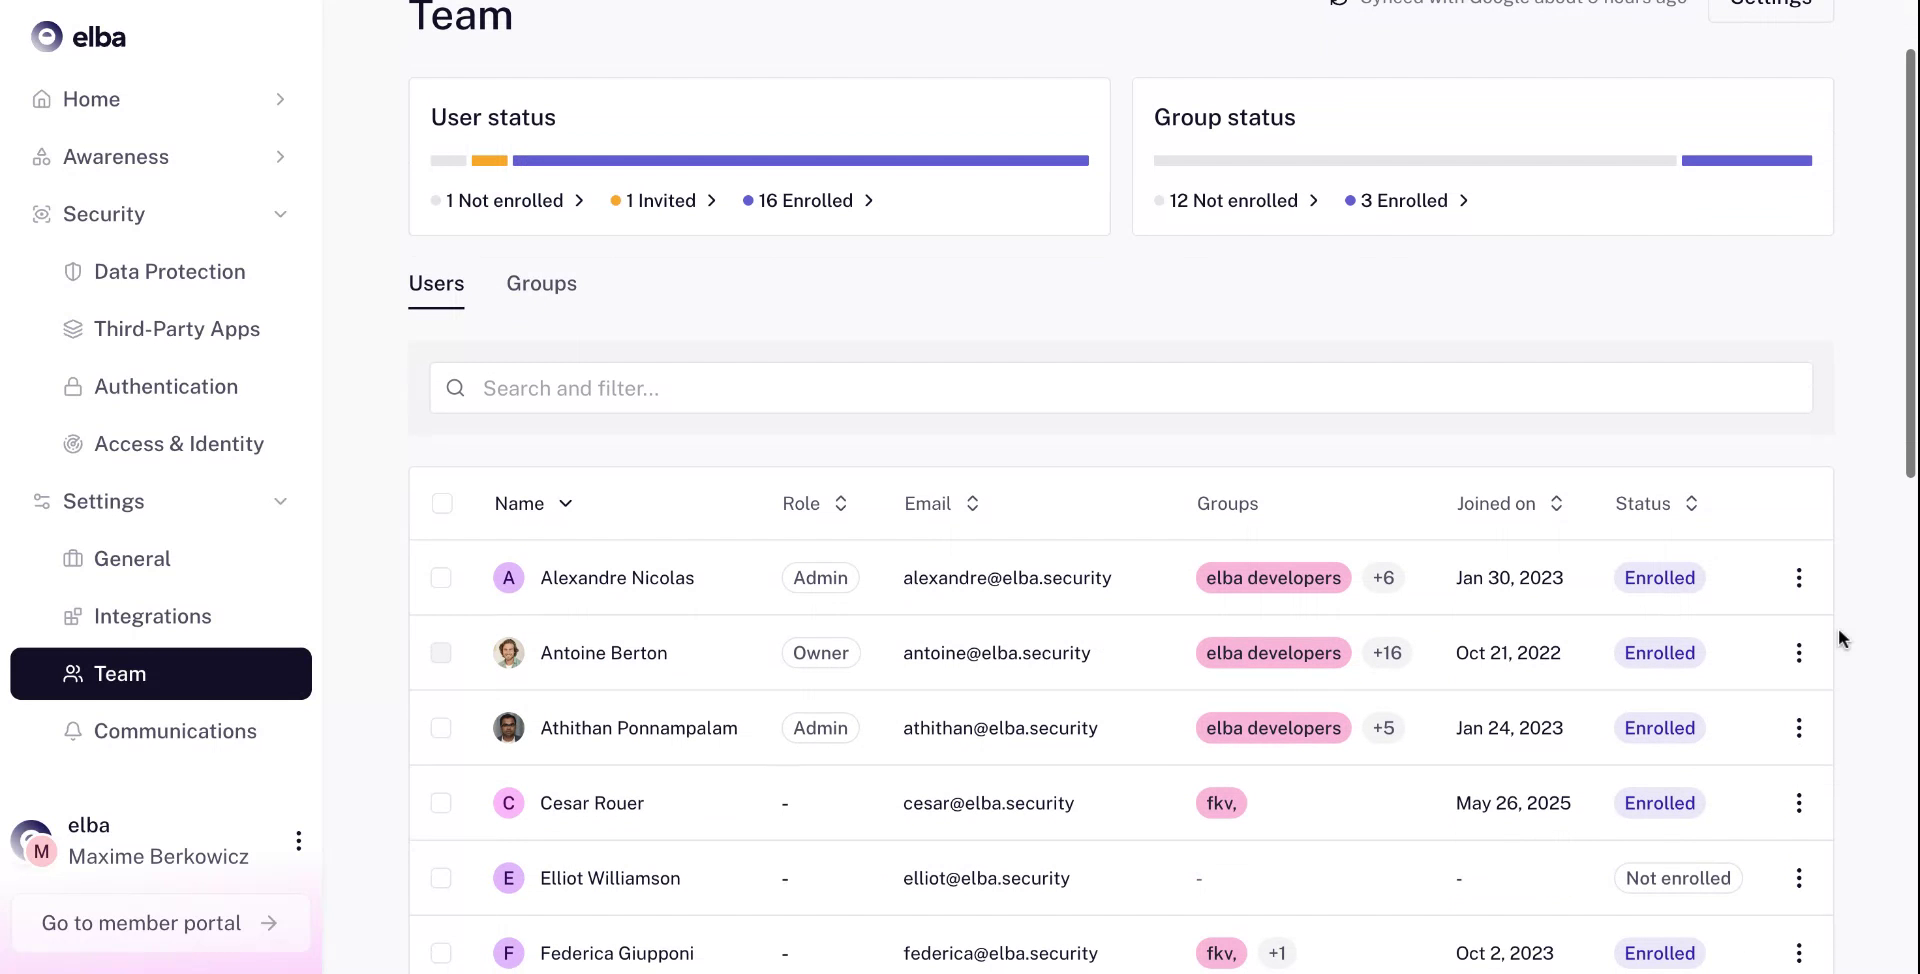
Step 6
- Search using examples such as the names "Alex" or "Nicolas," or use an email address like alex@elbasecurity to locate one or multiple users
Step 8
- Decide whether the user should be enrolled, not enrolled, or unenrolled.
Step 9
- Filter users who are pending invitation and send them a reminder.
Step 10
- Congratulations, you have completed the user management and enrollment process !